
 |
| It wasn't usually THIS cluttered, but instead of cleaning up before the pic, I decided the uglier the BEFORE the better the AFTER looks, right? |
Unfortunately possessed of more style than money (aside: that used to be a long running Vogue column: "More Taste Than Money" featuring stylish, but low cost (at least Vogue's version of low cost) items...don't you love it?) and rudimentary, at best, carpentry skills, I tried to think of a way to construct the window seat (which I knew was mainly for looks, not use, and therefore didn't need to be of the sturdiest construstion)easily and cheaply. While thinking, I came across this:

Miraculously, the dimensions were perfect: height, width, and depth all fit within 1" of the nook. I planned to use existing curtains that were being stored:

And put together this plan:

To create something like this:

However, I wasn't thrilled with the result:

So, back to basics. First, I realized that the cushion that came with the bench was too skimpy, so I took care of that.

Then I realized that these curtains might work.
 |
| Curtains (made from vintage sheet) in original kitchen location. |
 |
| By now, they had migrated to the home office. (Please ignore the fact that curtains are falling down and room is half-striped...this was in the midst of the dining room/home office switheroo. here and here.) |
I let out the hem and hung them. Much fresher and brighter than the orange print, and they were long enough and thin enough to hang on the outside of the seat like the inspiration pic I loved, but there was a huge gap between the ceiling and the top of the window sill.
 |
| It's hard to tell, but the matchstick blinds are actually a lime and natural combo. |
I needed a valance...bummer. However, I remembered that I had purchased a fabulous Echo shower curtain when Linens N Things went out of business that had all the right colors to tie everything together. Even better, though I loved it, I had never decided what to do with it, and it was gathering dust in my table cloth drawer. I whipped out the sewing machine and made a valance and lumbar pillow.
 |
| Note: I plan to shorten valance, but honestly, after working on this window for so long, I don't have the will to do it right away. |
 |
| Detail of pillow fabric. |
Now to accessorize, and boy, did I. In fact, I went overboard. It ended up looking like the decor version of a Kardashian...pretty enough, but overstuffed and a little on the tacky side.


So this morning, I de-cluttered, and voila:
 |
| I felt it needed a little table, so I used this vintage fire extinguisher as base with stacked books as a top. |

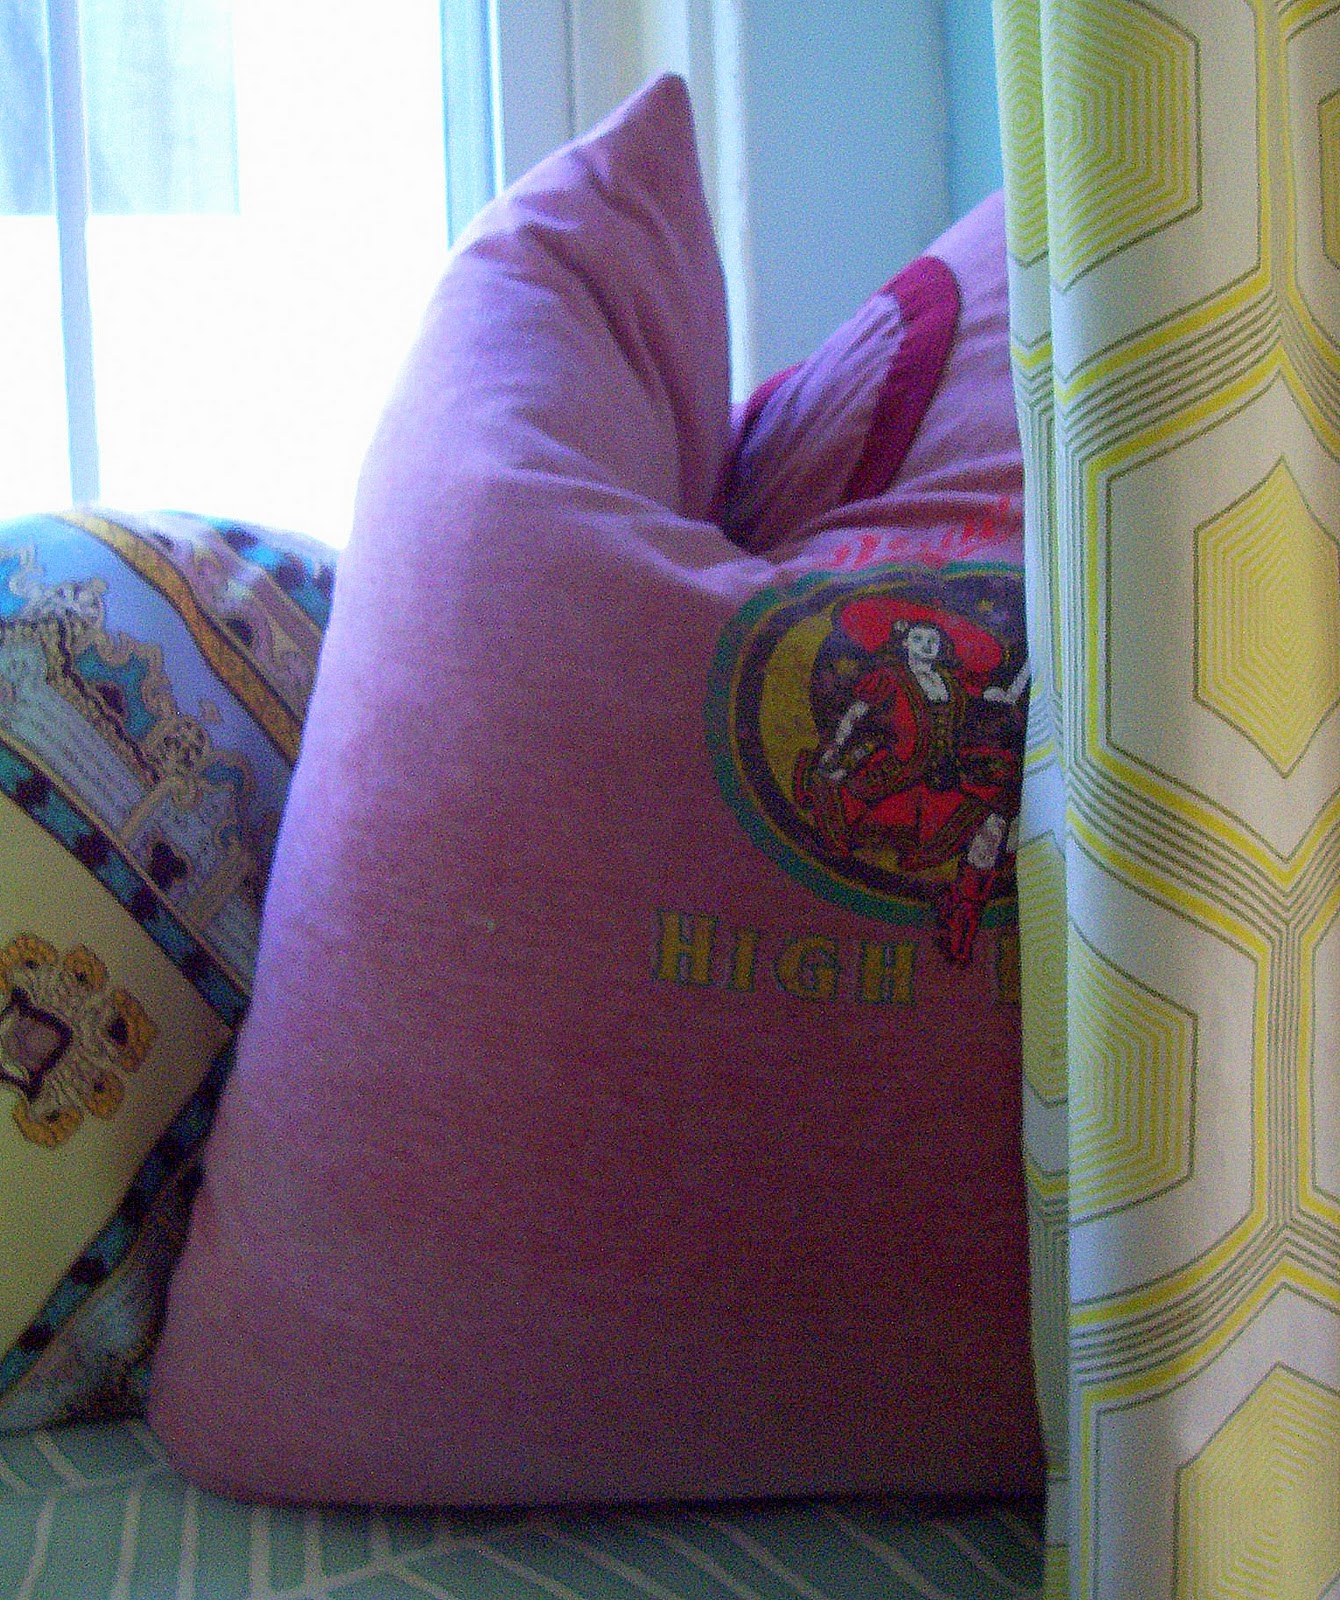 |
| I overdid the karate chop, but I love this pillow I made out of a vintage logo tee. The pop of red was necessary to tie to colors in adjoining spaces. Plus, it keeps the window seat from being too precious. |
Finally, my own window seat. And the best part is, except for the cost of the bench (around $70) everything else was stuff I already had....this is why I suffer....the part of my that fears ending up on Hoarders says "Throw it out...you haven't used it, you don't really need it," while the other half sneers, "What did you say about not needing it....I can't hear you over the sewing machine while I make this pillow out of this shower curtain that's been waiting in a drawer for 5 years...you know, the one you didn't think it needed." And yes, sadly, these conversations do occur in my head with my warring halves. Perhaps I should put down the needle and get to a doctor.
*note* I'd like to thank everybody who's read about, commented on and encouraged me in this project. It really means a lot. Thank you.
10 comments:
What a fantastic blend of fabrics. Bravo!
You did it! You pulled it off, and frankly, I wasn't sure how you would do it. It looks great!
So cute! LOVE it!
xo xo
the final version looks great! so bright and cheery. i, too, have those conversations in my head. i think the 'if you haven't used it in 1-2 years' rule doesn't apply to everybody. i do actually use things that i've had stored away for 5+ years.
Fab.u.lous!!! It's fresher and I love the shower curtain pillow - how great is that? A nice punch of pattern/colour! I like how the red pillow is peeking from behind the curtain and inviting us into the space, wanting us to get a little closer to see what's there.
Yay!!! We're all happy that you got your beautiful window seat. :)
P.S. Knowing how to sew sure does come in handy. How did you learn? I'm going to ask Santa for a sewing machine.
Marlo, I'm convinced sewing is the single most useful home decorating skill to have. I was influenced by my grandmother who was a talented seamstress, but honestly, the key to sewing is practice and starting simple. Nothing burns you out like tackling a major project as an beginner. That said, sewing for the home is so much easier than making clothes.
Creative, cozy & resourceful! Enjoy!
EXCELLENT! just EXCELLENT! So happy at this new look for this space! I knew once you worked it out it would be wonderful! I am so proud of your work here! And to comment on the ability to sew: it is getting to be a lost art, in my opinion. My mother taught me to sew when I was 9 years old so I would have something to occupy me! I loved it and have never looked back, although my first beginnings were with Barbie clothes! Now almost 50 years later, I have to say it is the single most beneficial talent I possess. It has saved me tons of money and once, in a down economy, it got me a job in a drapery workroom that provided me with a whole new level of skill & knowledge! Take lessons...LEARN....practice...relax
it is therapy for me! Love it!
Turned out lovely, just perfect.
Kitty, USA
Post a Comment